A Quick Preceding Note
To start working with a programming language, you need the right tools installed on your computer. One of the most valuable tools for development is an Integrated Development Environment (IDE). I highly recommend Visual Studio Code (VS Code) by Microsoft—a free, versatile, and extensible IDE that supports many languages and platforms through extensions. These add-ons enable support for most major programming languages with just a few clicks.
If you haven’t installed VS Code yet, I strongly encourage you to do so first. I have an article covering the installation process on this page (the link opens in a new tab / window).
While other IDEs are available, this site will primarily assume the use of Visual Studio Code unless stated otherwise.
Introduction
Software development relies on programming languages—systems of notation used to write computer programs. These languages are defined by their syntax and semantics, typically specified by a formal language.
In this series, we’ll be using C#, a sophisticated programming language that offers a wide-range of tooling for projects in various forms.
As with most programming languages, you can write C# code in basic text editors like Notepad. However, you’ll need additional tools to run it. These tools, bundled in a Software Development Kit (SDK), convert your code into a format computers understand. The .NET SDK by Microsoft, a platform which also supports several other programming languages, is very easy to set up.
This article will guide you through installing the .NET SDK and configuring key settings.
Organization-Owned Equipment
You’ll find this notice on any page covering software installation. Click the button below to open a brief modal with important advice about using organization-provided equipment (e.g., from an employer or school). I recommend reviewing it quickly before proceeding, as I may have updated recommendations.
The .NET SDK
Introduction to the .NET SDK
The .NET SDK is a comprehensive collection of libraries and tools developed by Microsoft for building applications on Windows, the Xbox gaming system, and other platforms, including macOS. While owned by Microsoft, .NET is open-source and free to use.
Language Support and Flexibility
.NET supports multiple programming languages, including C#, a high-performance, general-purpose language suitable for business applications, system utilities, web development, game programming, and more. Notably, .NET allows developers to use multiple languages within the same application, optimizing different parts of a project with the best-suited language.
Installation Considerations
The .NET SDK can be installed without administrative privileges, making it possible to use on organization-managed computers. However, for optimal performance, full admin access is recommended. If you’re using a work or school computer, make sure to re-check the Organization-Owned Equipment section of this article and verify permissions with your IT department before proceeding.
If you’re using a personal computer, you should encounter no restrictions when following this guide.
Evolution and Compatibility
Microsoft releases new versions of the .NET SDK annually in November. Due to past restructuring, versioning has evolved, with .NET 9 as the latest release as of Q1 2025. Lessons in this guide will focus on the most recent version while maintaining compatibility with older ones.
Before starting a lesson, check which platform it is based on and look for notes on updates. As we progress, we’ll start with simple applications and gradually explore more advanced concepts and capabilities.
SDKs vs Run-Time
One last quick thing to be aware of about .NET. You will often see references to an SDK vs Run-Time package. The SDK is the actual version of the tooling necessary for building an application using .NET languages. The Run-Time package is installed on computers to run the completed programs without setting up development tools.
In simplest terms, you as a program creator will use the SDK. If you’d like to provide the program to friends and family who do not do programming, their computer will install the Run-Time package to run the program. That process is generally automatic, so you don’t need to worry about it for now. Just make sure you download the appropriate SDK version, and you’ll be set.
Downloading and Installing the .NET SDK
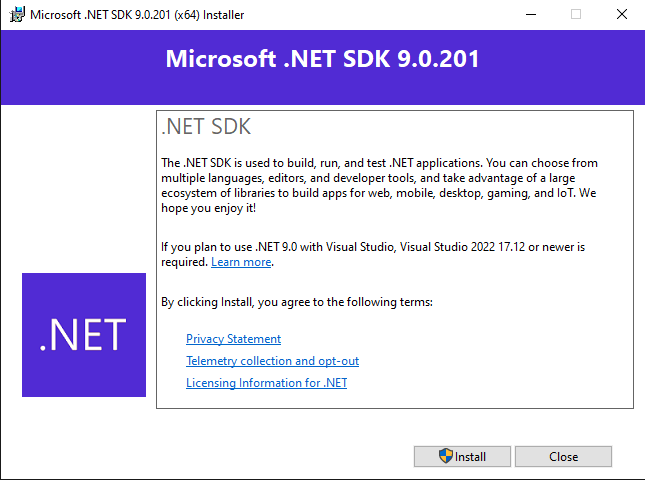
To install the .NET SDK, follow this link (opens in a new tab / window) to Microsoft’s .NET SDK download page. If you need a version for a platform other than Microsoft Windows, you will see options for downloading all versions of .NET, including versions of the .NET runtime. Click the button labelled “Download .NET SDK x64”. This will automatically download the appropriate SDK. Once you’ve done that, you can start the installation from your browser’s download history.
Unlike some other packages you’ll see installation guides for on this site, the .NET SDK is very streamlined and simple. You really only need to accept the legal terms of use and the SDK does the rest. This is partially because if you’re using Microsoft Windows, then you already have a lot of the configurations in place to support the SDK. Mostly, it’s because there isn’t a lot you need to customize on it regardless, and that makes getting into development a bit of a quick endeavor.
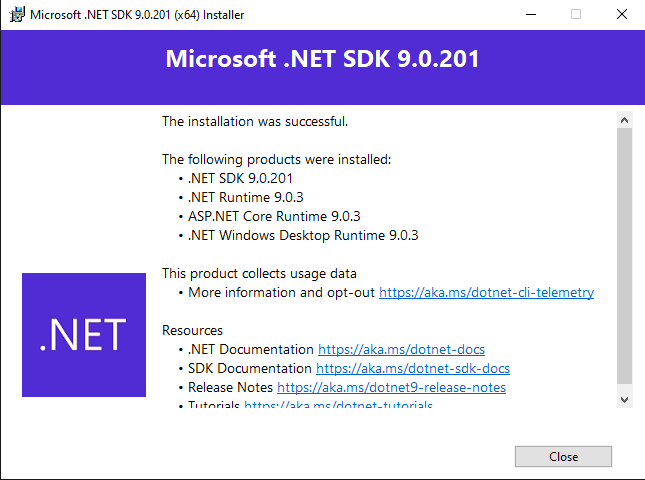
Yes, it really is that simple to get the .NET SDK installed on your machine. Using it requires a bit more work, but if you’d like to just verify what you did, you can do so with the next section. Before you do, it might be worth restarting your computer. While not strictly necessary, if there is ever clean-up required for installation, this ensures that you have all of the updates fully applied before you begin using the tools.
Verifying Installation
Writing our first application will require a bit more work, but to confirm that .NET is installed and ready-to-use, we can run a quick check using a terminal window such as the Microsoft Command Prompt or Power Shell. If you’re using a MacOS computer or a different platform, you can open up a terminal window and perform much the same task.
Simply open your preferred program up and type in the following command:
dotnet –list-sdks
You should get a response similar to this, though the number of entries will likely be significantly shorter. Since I have to support older platforms with my work, I have more versions installed. The last entry on this list will be a version number approximately the same as what you downloaded from Microsoft. The disparity in numbers will not be concerned so long as the major version number is correct. As I mentioned before, at Q1 – 2025 we’ll be using .NET 9, so as long as the SDK is version 9 followed by some additional decimal separated numbers, you’re all set!
What Comes Next?
Using the .NET SDK with Visual Studio Code (my recommended IDE) sometimes entails setting up a few more bits and pieces. It’s nothing strenuous or overwhelming, but I cover it separately just to keep each step properly organized. Watch for an upcoming article on configuring Visual Studio Code to work effectively with .NET for C# development.
Oh, One More Thing
The nice thing about using the .NET SDK is that this same installation process supports most of the languages you can use with the platform. While there may be some other packages to install to work with, say, C++, the vast majority of the tooling will be ready to go. I hope to eventually cover some material on other languages and add-ons to the process, but you’ll be happy to know that with just one more intermediate lesson you’ll be ready to write a simple application and dive into this language. Make sure to check back soon for additional links and updates on this article.